Summary
The Salesforce data source integration is built to pull a monitoring file based on the most recent contacts from Salesforce, based on create time. Through the integration setup, how many records to be included can be specified.
Not Supported
This integration type does not support:
Postal Address Identifiers and/or
Pass Through Data Fields
If you would like to use these features, consider using the Data Source Upload Wizard or the API Endpoint
Setup Your Salesforce Data Source Integration
Now that you have determined how you will provide Jornaya with your Monitoring File, within your newly created Instance, click the "+Add Integration" button under the "Data Source" section.
Click the "Salesforce" integration option.
Within the modal window that appears, authenticate with the desired Salesforce Production or Sandbox credentials. You can come back and switch to a different environment later by Editing Your Instance.
Hover over the authentication name and click on the pencil symbol to edit the credentials.
Click "New Authentication" and follow the steps to allow access to your Salesforce account.
Select the number of records to include in the monitoring file.
Does the data need to be hashed?
If so, leave the “Is the data already hashed?” option de-selected.
Map the email, phone number, and LeadiD fields to the required Jornaya fields
Default Record ID
By default, the integration will populate the record ID as the Salesforce Full Contact ID for each record
Click "Finish" to finalize the setup of the integration, however, this does NOT turn on the integration.
Enable the integration by toggling it on (left/blue)
Upon enabling the integration, it will process within 5 minutes
If there are any issues with the integration, the Jornaya Support team will be in touch with the next steps.
Please keep in mind if originally selecting the Sandbox instance for testing purposes, it may be necessary to change to the Production instance after testing, but prior to going live.
What's Next? Jornaya Activate Signal Data
After the data source integration has been completed, it is time to ensure that the Jornaya Activate Signal Data is properly ingested for marketing outreach.
Frequency of Monitoring
Within myJornaya this Salesforce integration only runs once.
Reusing Your Salesforce Data Source Integration
In order to reuse the Salesforce Data Source Integration method, simply disable the integration within myJornaya via the toggle, and then reenable it. This will cause the integration to grab the most recent contacts available based on the previous integration settings.
Edit Your Data Source Integration
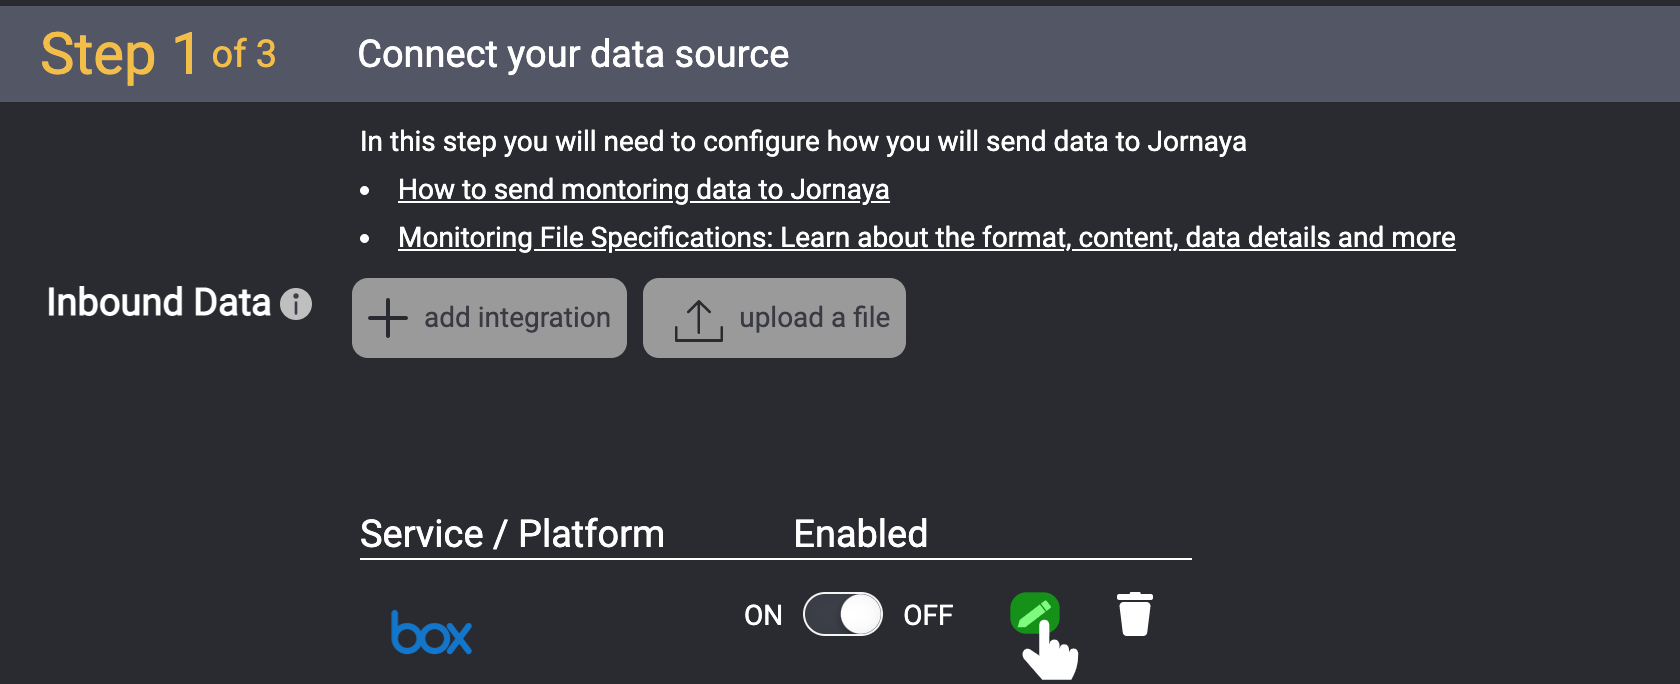
Should the integration needs to be edited, simply click the edit icon next to the specific Data Source. Make the necessary data source integration edits, then enable the integration again.

Automatically Disable Integration
Editing the Data Source Integration will automatically disable the integration and it will need to be reenabled to pull the most recent monitoring file.
Delete an Integration
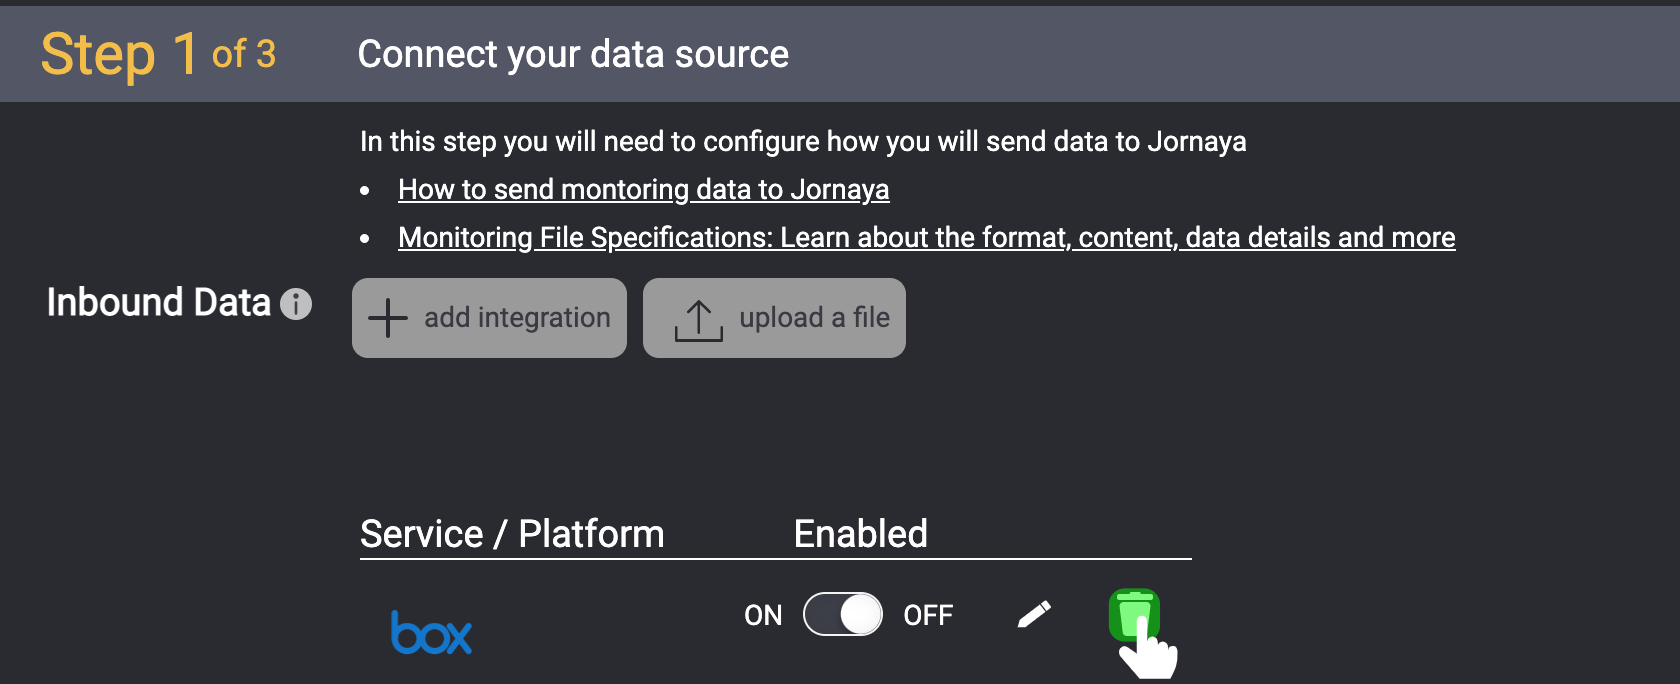
You can delete a data source integration by clicking the trash can icon next to the corresponding integration.

Files Monitoring After Integration is Deleted
If a file is already being monitored based on an existing data source integration, it will continue to be monitored even after the integration has been deleted. In order to turn off the monitoring of a file, contact Jornaya Support
