Summary
The Velocify Integration is built to pass Activate Signal Data from Jornaya directly into the Velocify Lead Management System.
Before You Start
Ensure that fields have been created within Velocify to capture the Activate Signal Data that has been subscribed to. These will be required during the Integration setup below.
Velocify field types should all be set to "text".
Setup Your Velocify Integration
Click "+Add Integration" to add an integration.

Select the "Velocify" icon from the pop-up window.
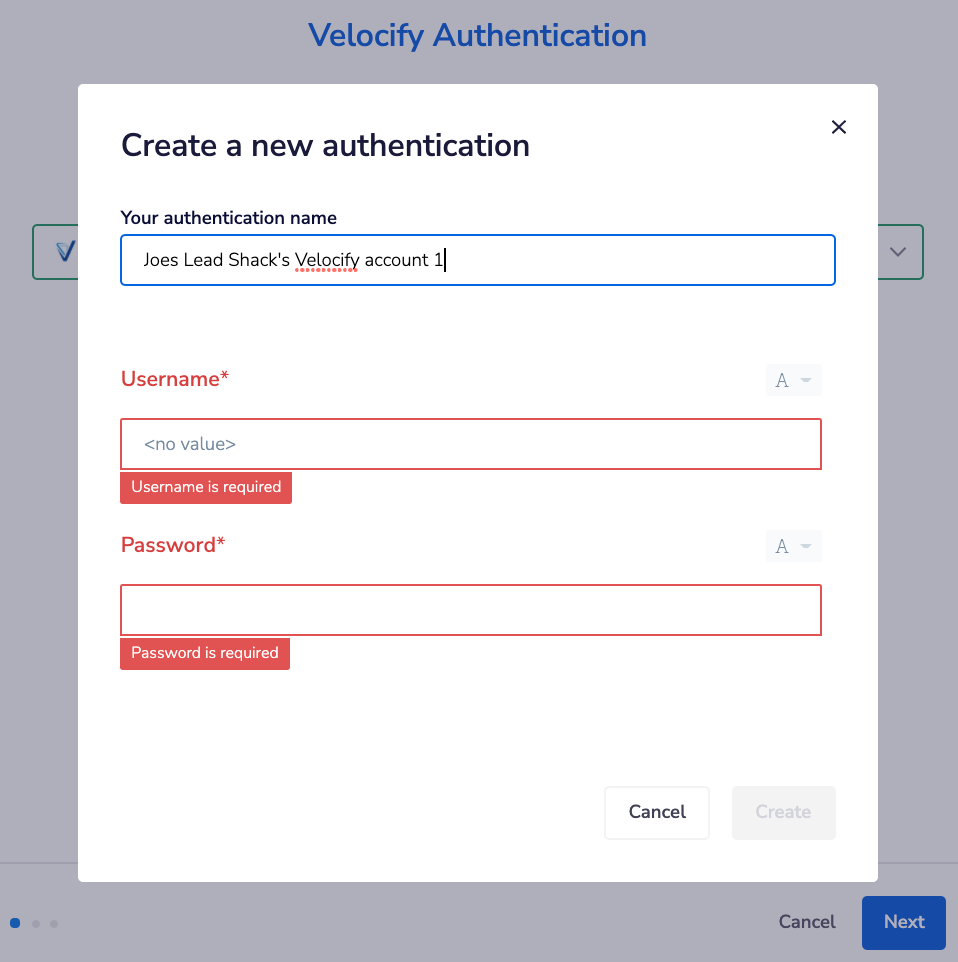
Click "New Authentication" and authenticate with an appropriate Velocify username and password, click "Create", and then "Next".

Password Updates
If the password used for the authentication changes, the integration must be edited to update the password (see instructions below). It is recommended to use login information that is considered "evergreen" to prevent the integration from failing. Jornaya will also alert you if the integration starts to fail due to a password issue.
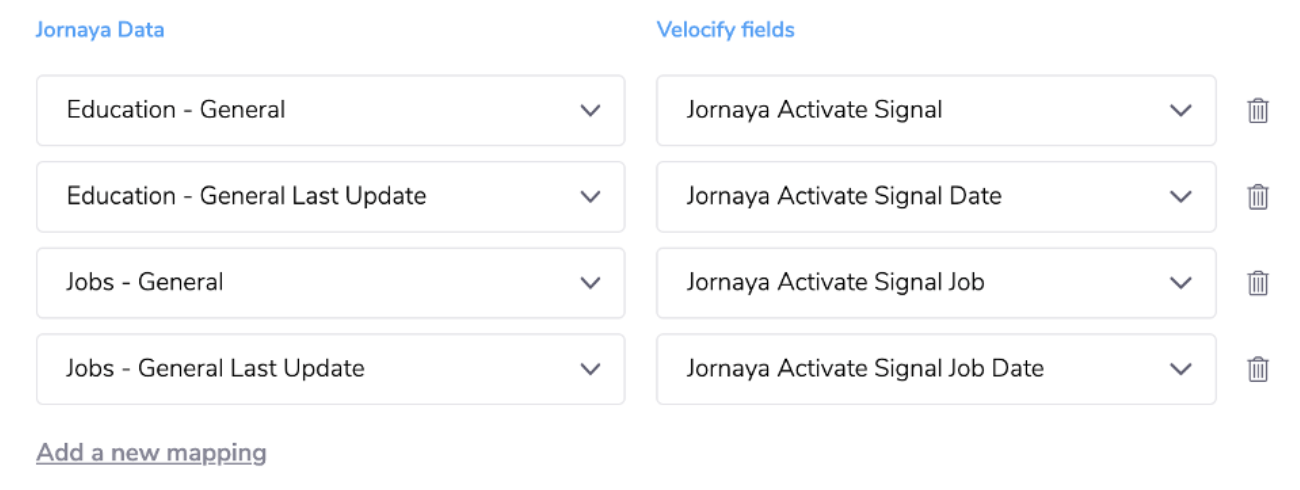
Map the Jornaya data points to the fields that were pre-created in Velocify.

Optional: Map a "Last Update" field for each journey, which will populate yesterday's date stamp (example: March 17 2020) for every record with Activate Signal Data to the mapped field.
Check those Field Types!
All Jornaya data is passed in a text format. Fields must be configured as "text" within Velocify.
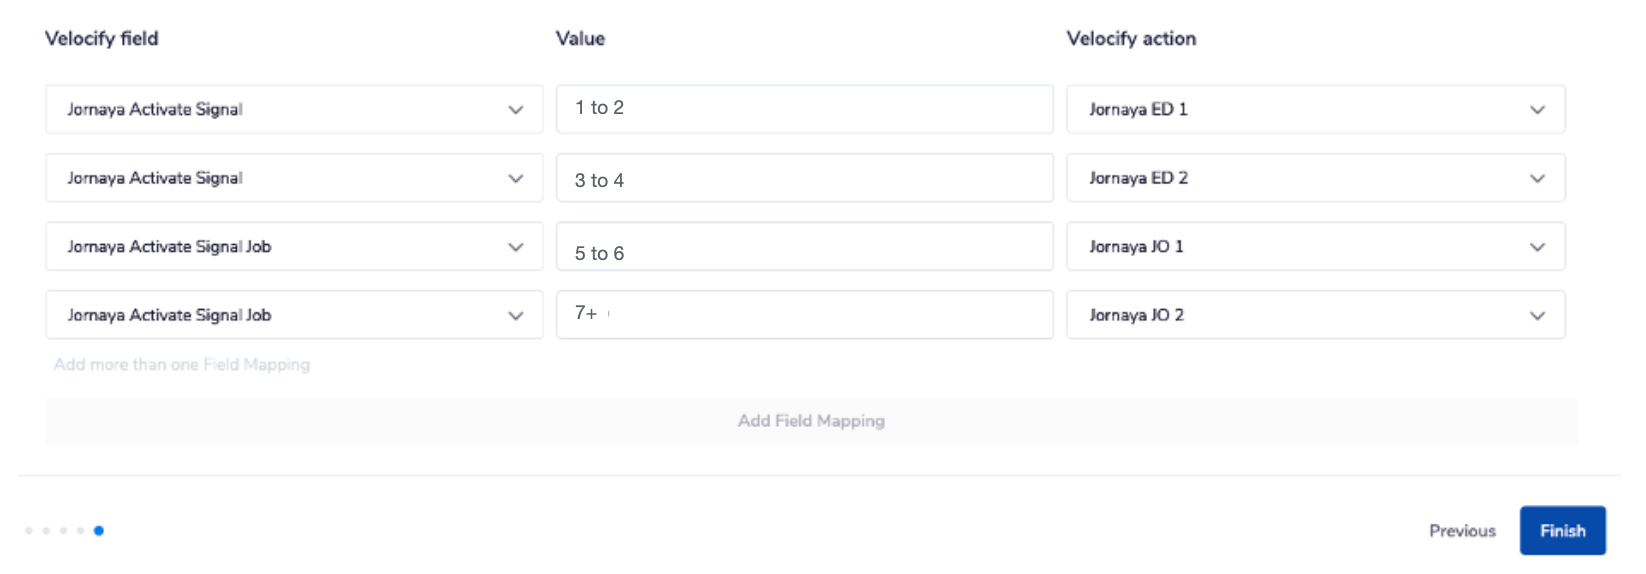
Optional: Map combinations of Velocify Fields and Values to created Velocify actions. Leave the screen blank and click "Finish" to skip.

Action Mapping
The integration will trigger an action that is mapped to a field and value combination based on the Jornaya data posted.
Multiple Field/Value combinations can be assigned to a single action - this will cause the same action to trigger multiple times if multiple field/values are posted.
Values are not case-sensitive.
Clicking "Finish" finalizes the setup of integration, but does NOT turn on the integration. Enable the integration by toggling it on (left/blue). Upon enabling the integration, the integration will begin in 5 minutes.

What's Next?
After the integration has been set up, it is time to test that data is being received as expected.
Follow the steps in the Testing Activate Signal Integration to finish setting up Activate.
Need to make edits to the integration? It's easy! Jump to Updates & Edits to Activate to learn how.